Android-How To Deal With Different Screen Sizes using AutoDimens Plugin


At the beginning of my android development journey, I have built my first app.I thought it was ready to publish it in the play store. But when I tested it in another device, It didn’t behave the same,the view was bigger or not visible at all. Android devices comes in all different shape/sizes yo your layout,views needs to be flexiable. Yes, you’ll not face this problem if you use only match_parent etc attributes but if you wanna used fixed value it’s going to occur.
There’s plenty way to solve that issue but if you’re beginner it might be too complex and it may scare you. I had those feelings and after googling, reading for days found out a handy tool to use which is really friendly for beginners.So, today we are going to see how we can use that handy tool which is called AutoDimens. It’s basically take our “value”dp values and calculate it automatically then the view will be stretched depends on the screen size.
Also, there’s dimenify plugin but with dimenify you need to add all the screen sizes one by one so, I prefer this one. Furthermore, in some cases and depends on the size of the view it might work so you need to create different layout folder. But that’s another topic so let’s get start. Go to File=>Settings=>Plugins, search and install AutoDimens. After you have Autodimens installed we’re ready to start. Let’s say you have a view in your activity_main.xml file
    android:id="@+id/imageView3"
    android:layout_width="150dp"
    android:layout_height="200dp"
    android:layout_centerHorizontal="true"
    android:layout_centerVertical="true"/>
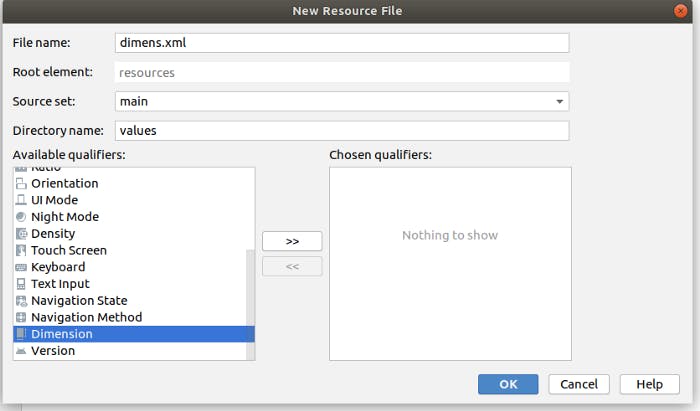
now we are going to see how to use that plugin. Go to res=>values =>right click and select new=>values resource file
file name:dimens.xml and select Dimension from Available qualifiers as in the picture
now our dimens.xml file created in the values folder. Now let’s take example of 50dp we’ll add
<dimen name=”dp50">50dp</dimen>
for the view we have created we’ll make the values as following and our dimens.xml file will be like:
<?xml version="1.0" encoding="utf-8"?>
<resources>
    <dimen name="dp150">150dp</dimen>
    <dimen name="dp200">200dp</dimen>
</resources>
The next step is right click on the dimens.xml folder and click AutoDimens and click ok then ok again. and the output is create dimens file succesfully.
now if we go to values => we’ll see dimens folder and it has 24 dimens files created with AutoDimens plugin for different screen sizes.
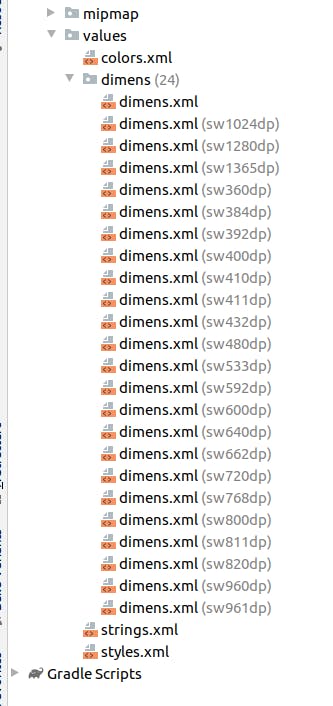
If you check any of the file you'll see the value changed itself lets take a look at dimens.xml(sw1024dp) and it's as following
<resources>
   <dimen name="dp150">426.6667dp</dimen>
   <dimen name="dp200">568.8889dp</dimen>
</resources>
There's one last step to do, we're going to change the view's width and height properties to make those dimens values work. In that case imageview going to be:
<ImageView
    android:id="@+id/imageView3"
    android:layout_width="@dimen/dp150"
    android:layout_height="@dimen/dp200"
    android:layout_centerHorizontal="true"
    android:layout_centerVertical="true" />
Moreover, if you want to make the font to work the same you just need to add once the spesific value in the dimens.xml folder between resources tag. Example I added value for 10sp
<resources>
    <dimen name="dp150">150dp</dimen>
    <dimen name="dp200">200dp</dimen>
    <dimen name="sp10">10sp</dimen>
</resources>
and for that we should not forget to change the text value of the textview/view and write @dimen/sp10 2.solution to use sdp library. You can check it from here: intuit/sdp
I used AutoDimens plugin in cardsvocabApp
Thank you for reading! Let me know if you felt like this or if it helped or didn't help. If there's any question or anything else you'd like to hear about please don't hesitate to put in a request.